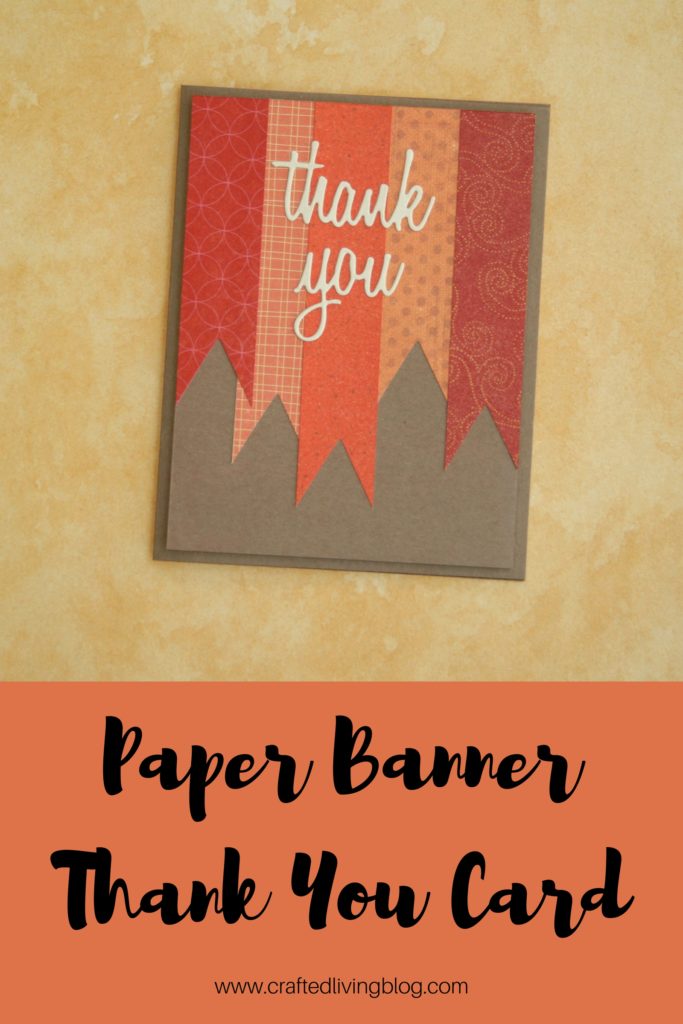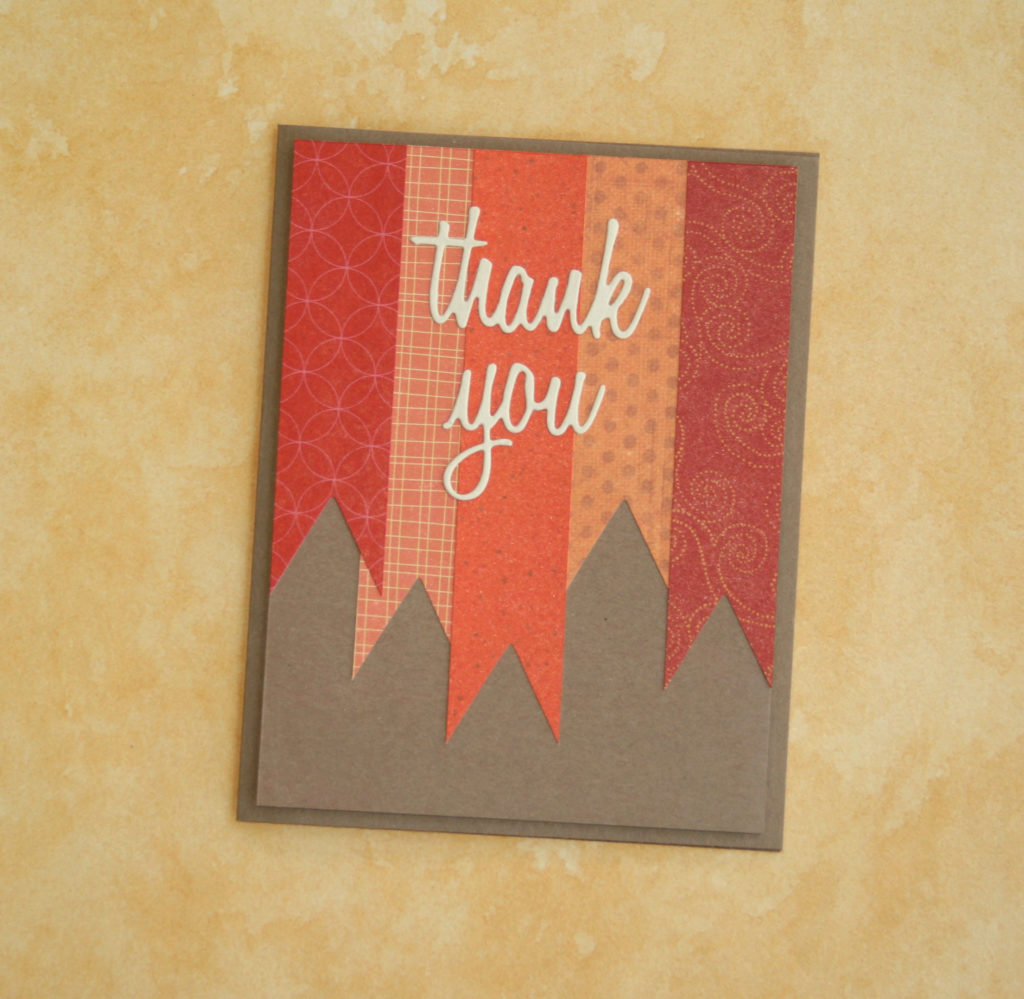
I couldn’t have only one fall thank you card on hand so I CASE’d (Copy and Share Everything) Day 28 from 31 Days of Handmade Cards. This card uses paper scraps for the banners instead of washi tape. Both materials work well in this design and I can imagine this card with glitter paper banners too. Such possibilities!
Gather the following tools and supplies to create the Paper Banner Thank You Card:
(These next 3 links are affiliate links which means I get a commission if you purchase through me.)
- Ultimate Card Making Tool Kit
- Washi Chomper
- thank you die cut
- patterned paper
- colored cardstock
- precision point adhesive
- tape runner
- foam squares
- Cut the khaki cardstock to be 4.25″ high by 8.5″ wide. Cut another piece of khaki cardstock to be 5.25″ high x 4″wide.
- Fold the larger piece of khaki cardstock in half lengthwise and use the bone folder to crisp the edge.
- Cut five strips of patterned paper at 7/8″ wide x 5″ long. Use the washi chomper to cut the edges of the paper.
- Stagger and overlap the banners and adhere to the card panel using the tape runner.
- Cut thank you using the die and Cuttlebug. Adhere thank you to the panel using the precision point adhesive and weigh it down with a book or another heavy object while it dries.
- Adhere the decorated panel to the card using foam squares.
- Write your own sentiment or download the holiday sentiments freebie and mail the Paper Banner Thank You Card.
I find immense joy in using up my paper scraps because I enjoy the creative process of mixing and matching. If you buy what you love, then it always seems to work in your favor because the items will naturally work well together. Call it design kismet or creative destiny. Whichever term you choose, you will be amazed at what you can create with what you have.
Meet me back here for inspiration so you can have a handmade Christmas. Be creative!
Editor’s note: I created this card using my paper scraps.
Remember to Pin it!
SaveSave
SaveSave
SaveSave
SaveSave
