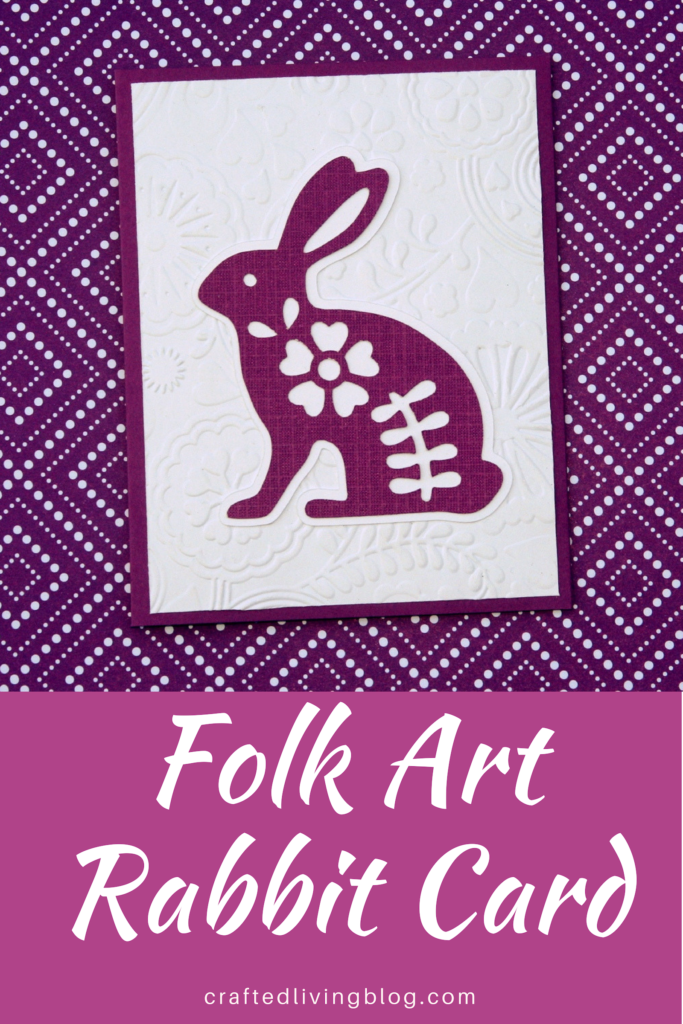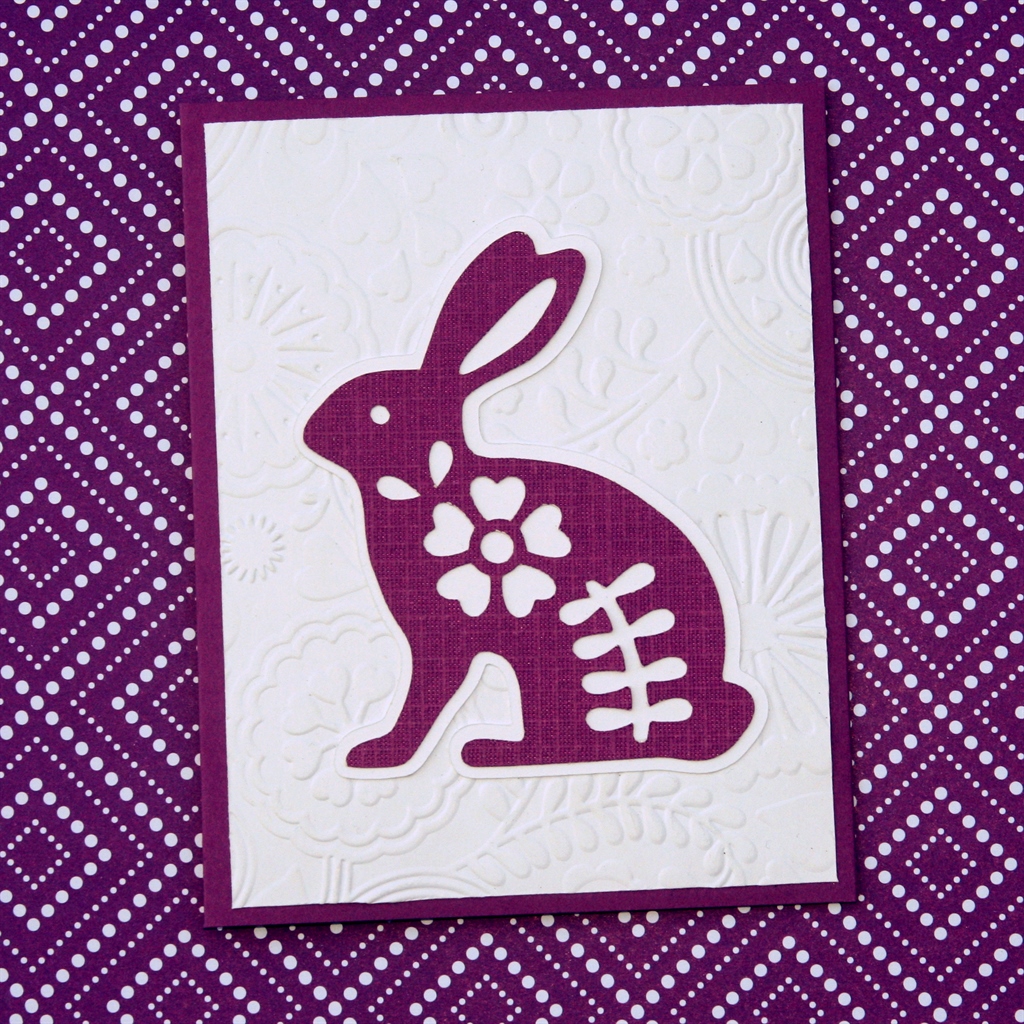
The Folk Art Rabbit Card was originally made to celebrate a work anniversary. We split up the tasks amongst the team and we always include flowers, a card and treats for the recipient. Guess who made the card?
Gather the following tools and supplies to create the Folk Art Rabbit Card:
(These next 6 links are affiliate links which means I get a commission if you purchase through me.)
- Ultimate Card Making Tool Kit
- Cricut Folk Art Festival cartridge
- floral embossing folder
- white and colored cardstock
- adhesive
- mini tape runner
- Fold the orchid cardstock so it is a finished size of 4.25″ x 5.5″and cut the white cardstock to 5.25″ x 4″.
- Fold the orchid cardstock in half lengthwise and use the bone folder to crisp the edge.
- Run the white cardstock panel using the embossing folder through the Cuttlebug machine.
- Cut the rabbit from Folk Art Festival at 3.5″ in height.
- Adhere the rabbit layers together using the mini taper runner.
- Adhere rabbit to the embossed cardstock using adhesive.
- Write your sentiment and mail or gift the Folk Art Rabbit Card.
My teammate loves flowers and animals so this was the perfect design for her. She had also been adoring this color lately so it was meant to be. She loved it! You could make this card using any color as this design lends itself to endless interpretations. Have fun!
Editor’s note: This post was originally published in November 2014 and has been updated for freshness, accuracy and comprehensiveness.
